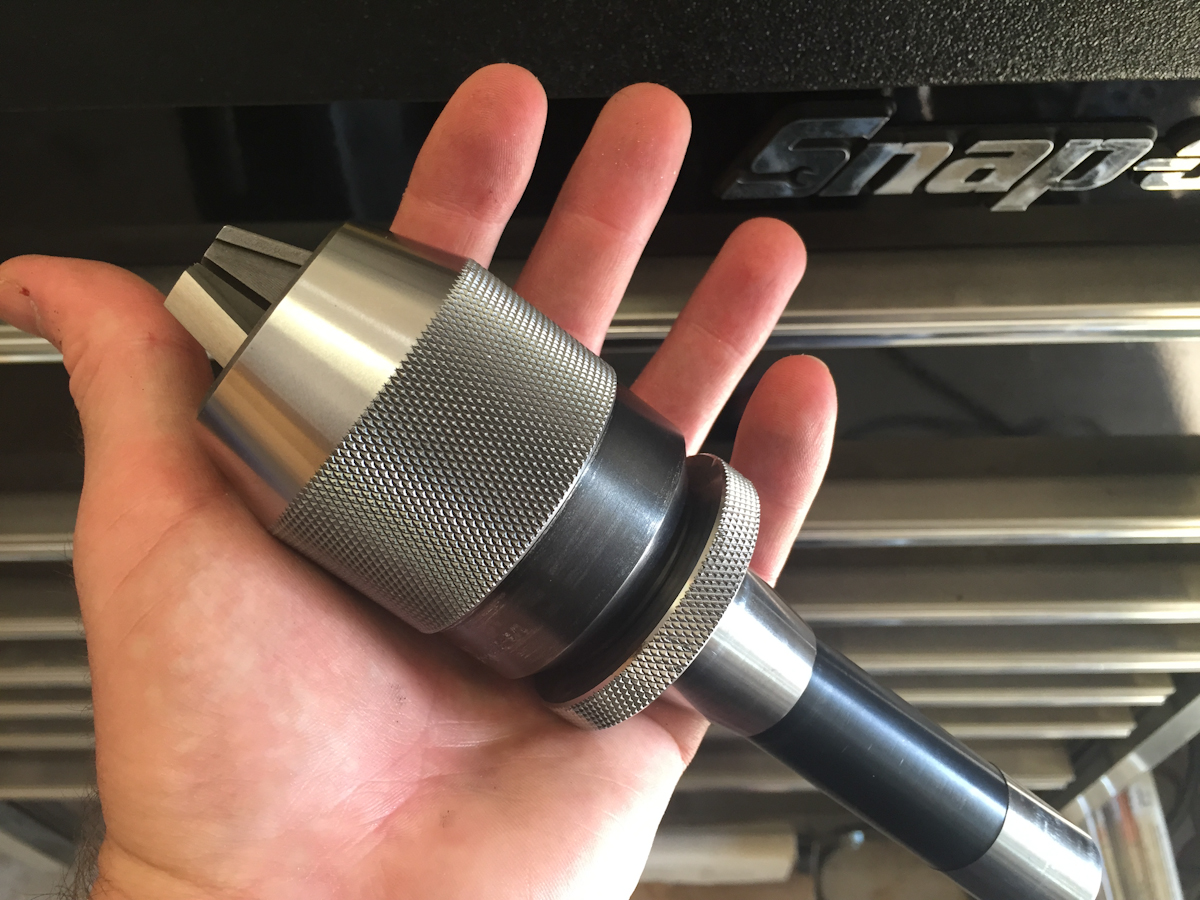
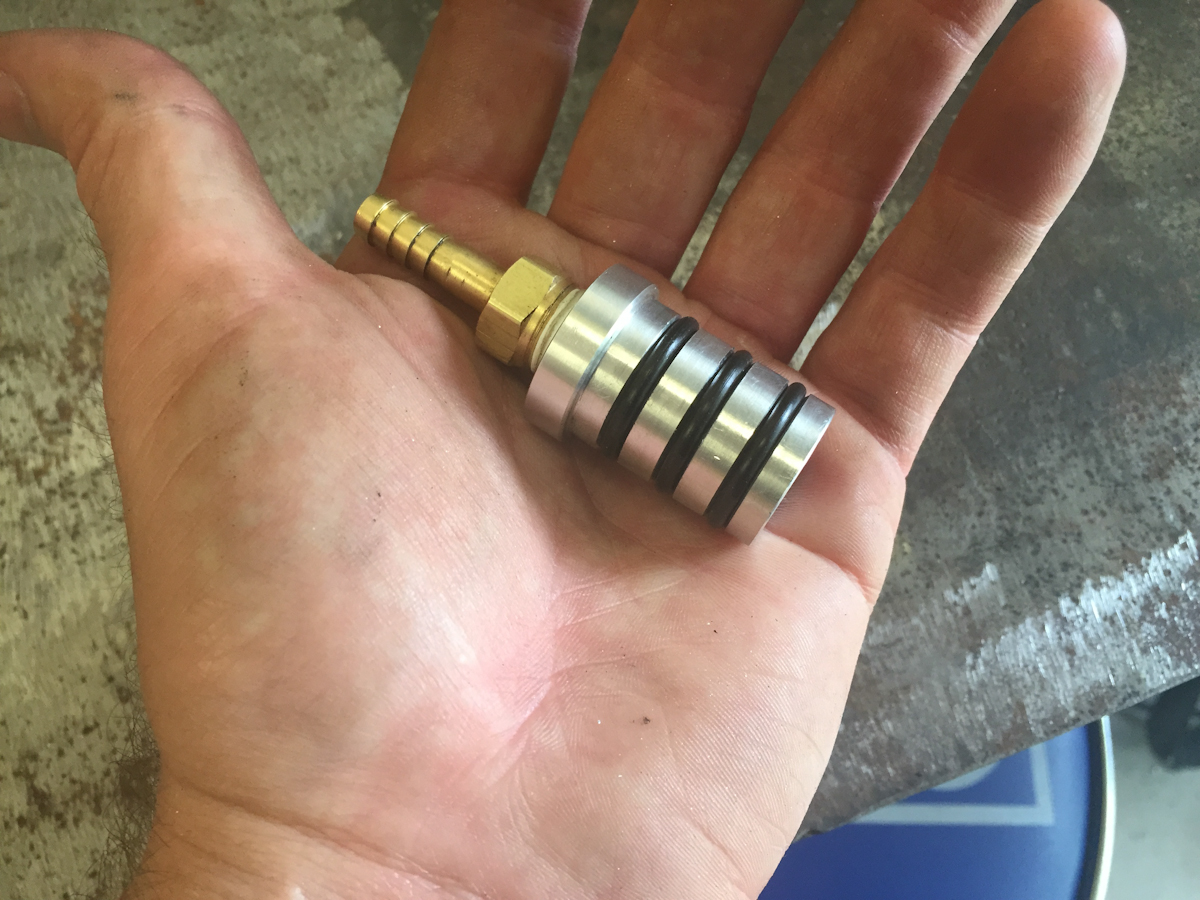
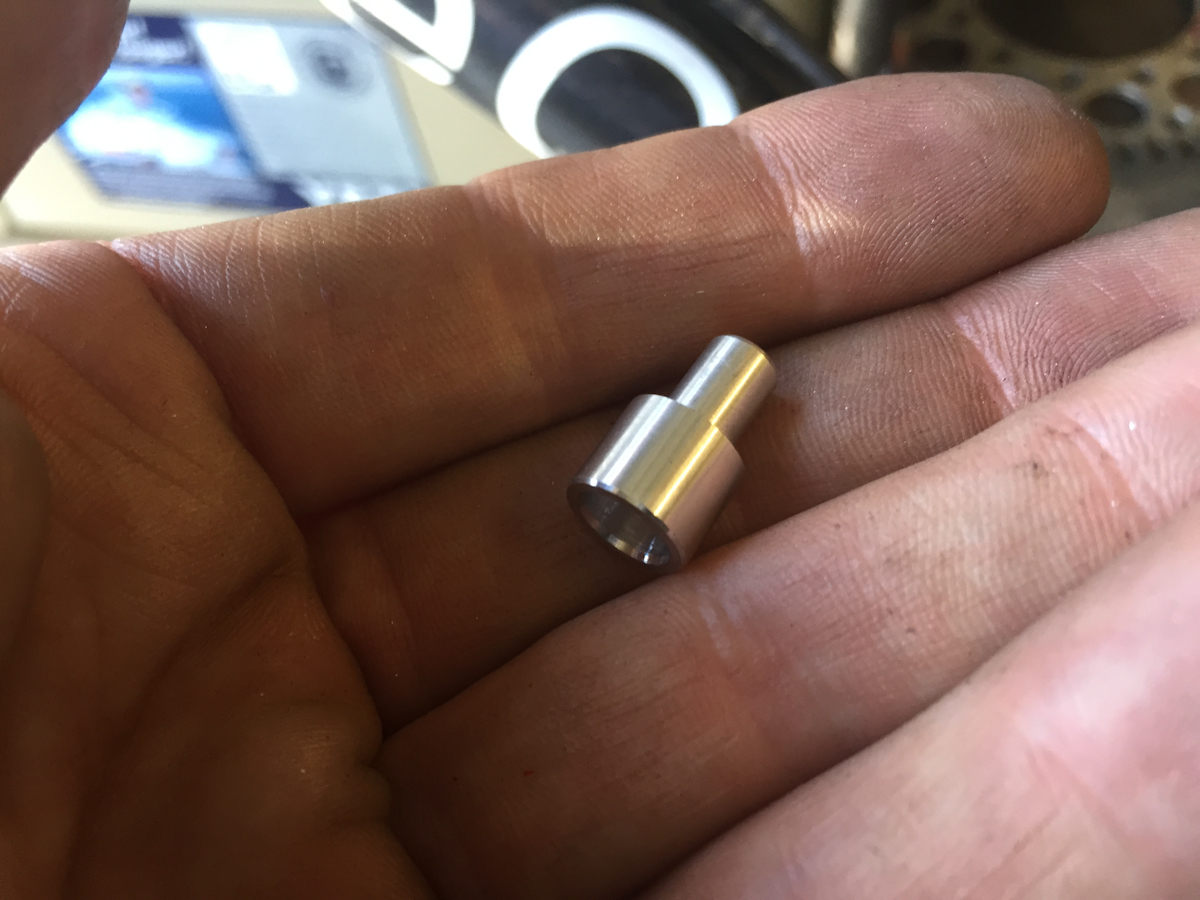
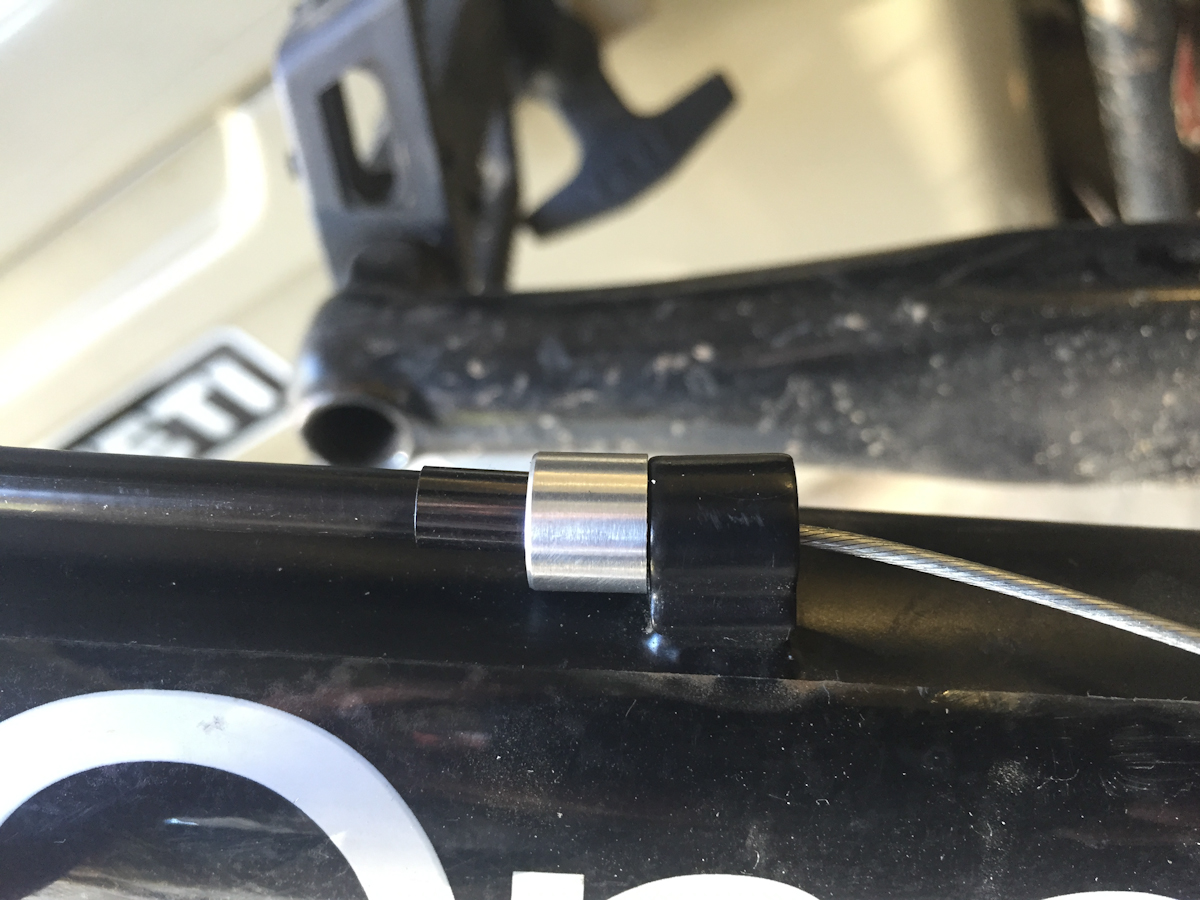
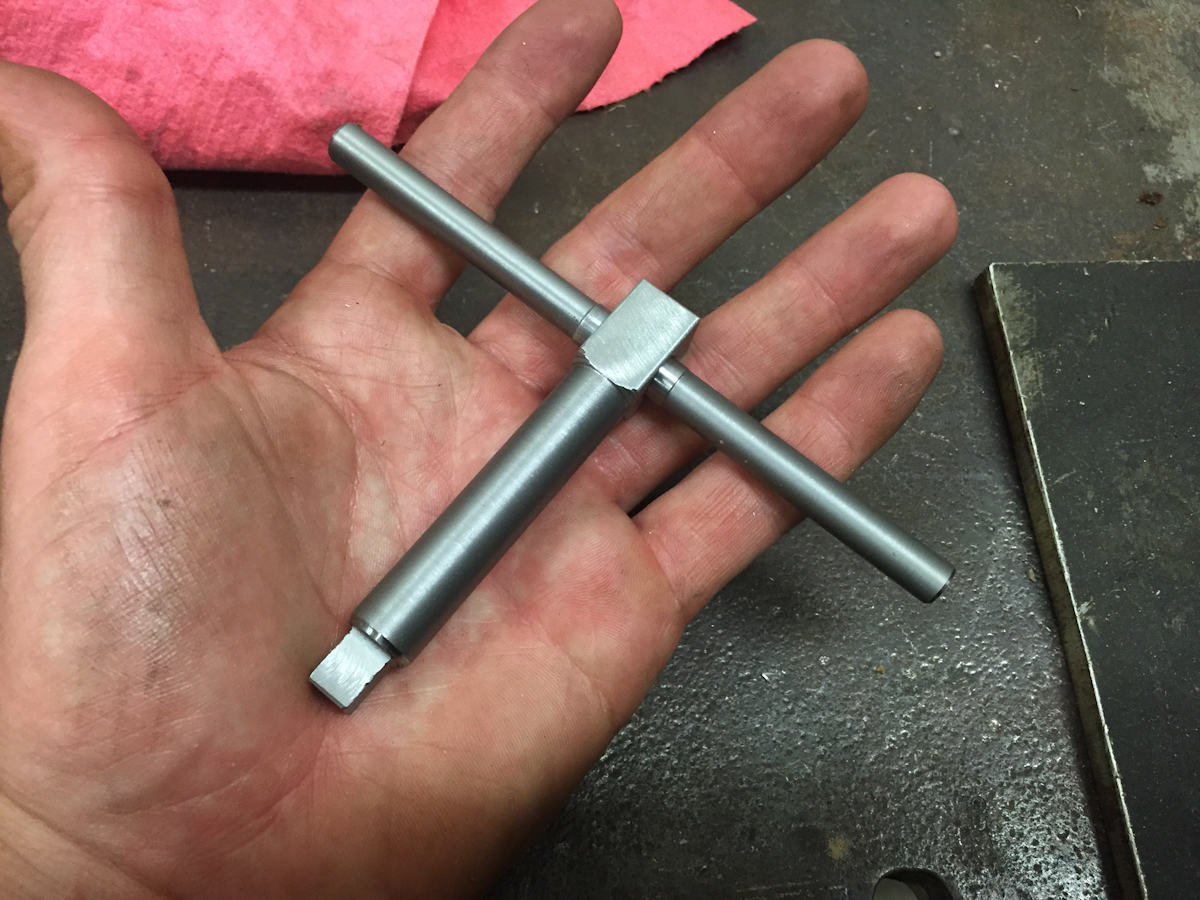
I was letting a friend of mine borrow a BMX bike to check it out for the first time. He’s never rode any trails, or park. I figured he might need brakes. But after looking for all the parts, I was missing the cable stop! So I machined one real quick on the Hardinge HLV-H lathe.
A photo posted by Clayton Miller (@mxpimp47) on

 but I was missing a brake barrel adjuster for running some brakes. So I turned down a cable stop on the lathe real quick

 #orangebrigade #ktm #twostroke #tig #welding #fabrication
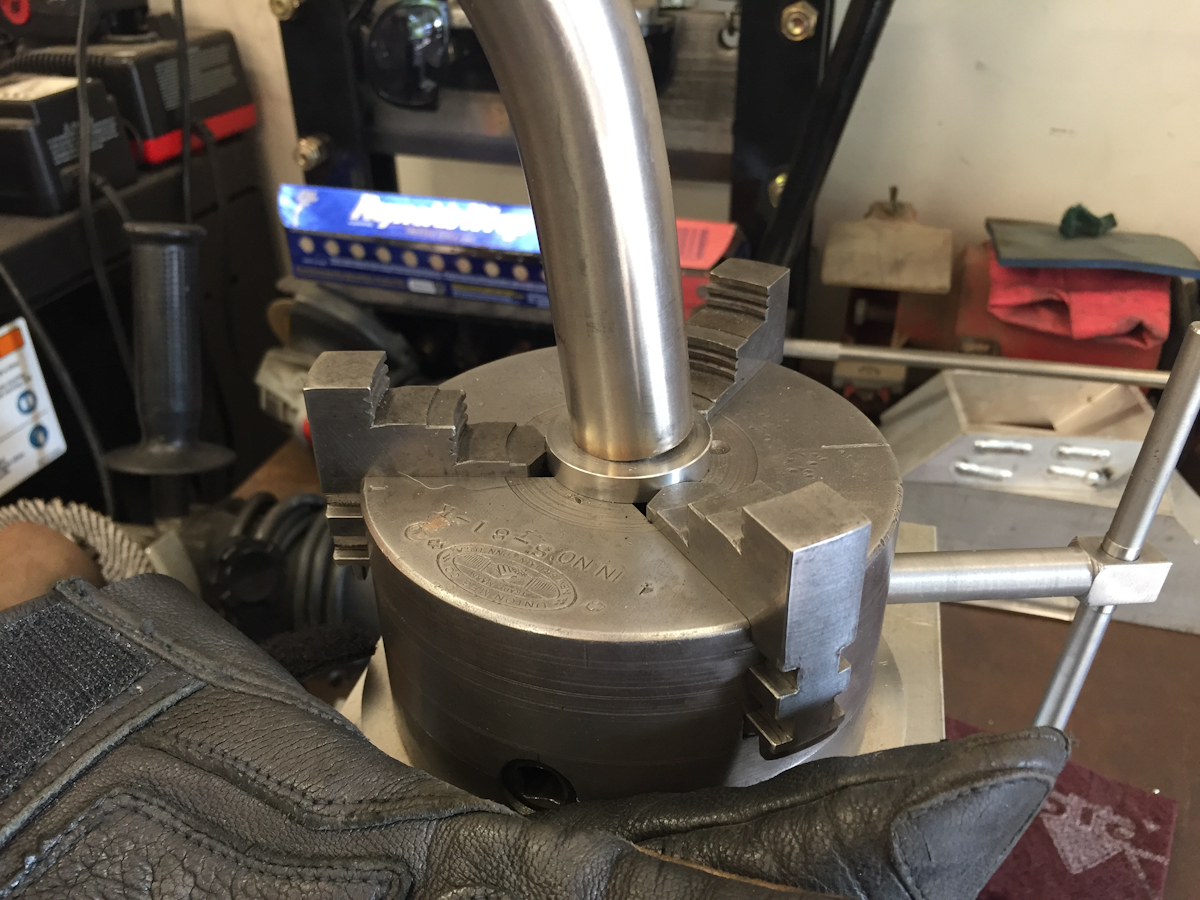
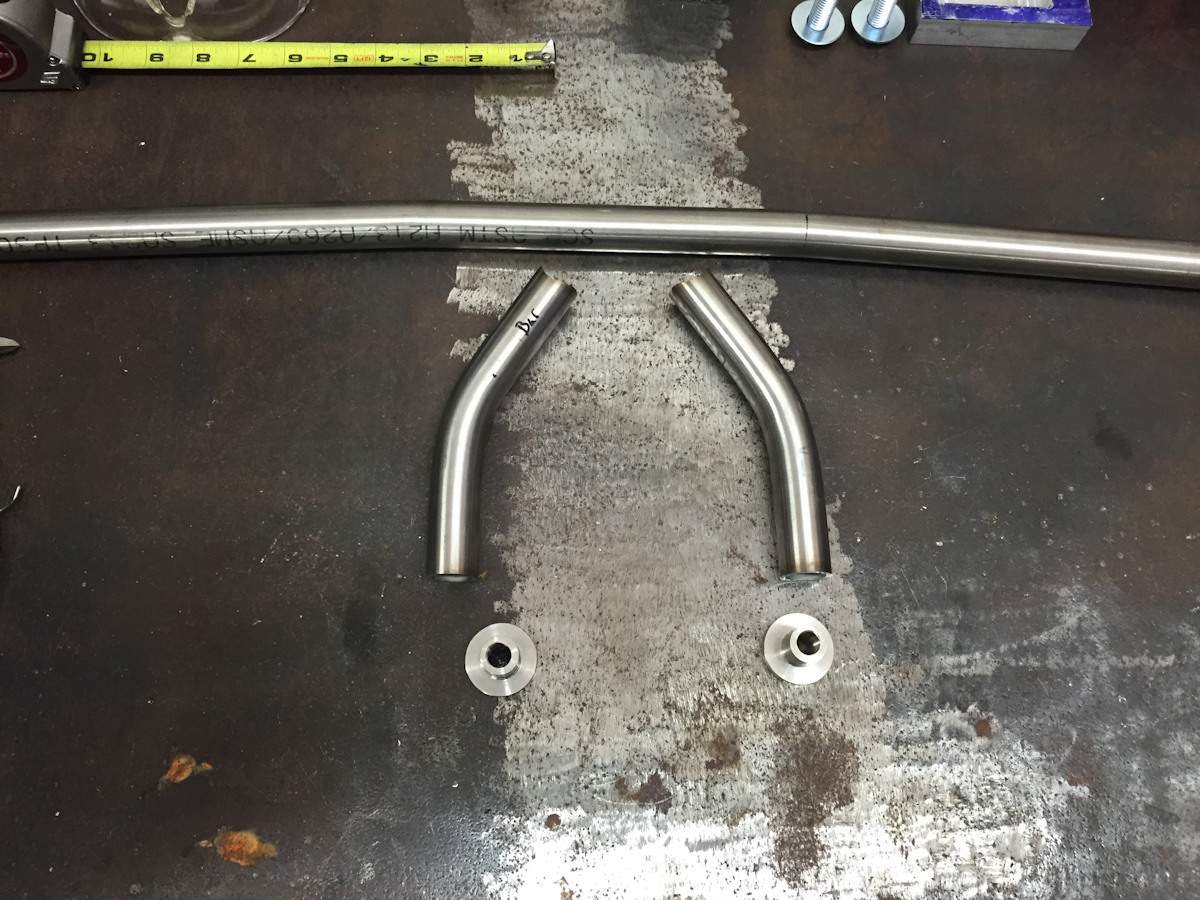
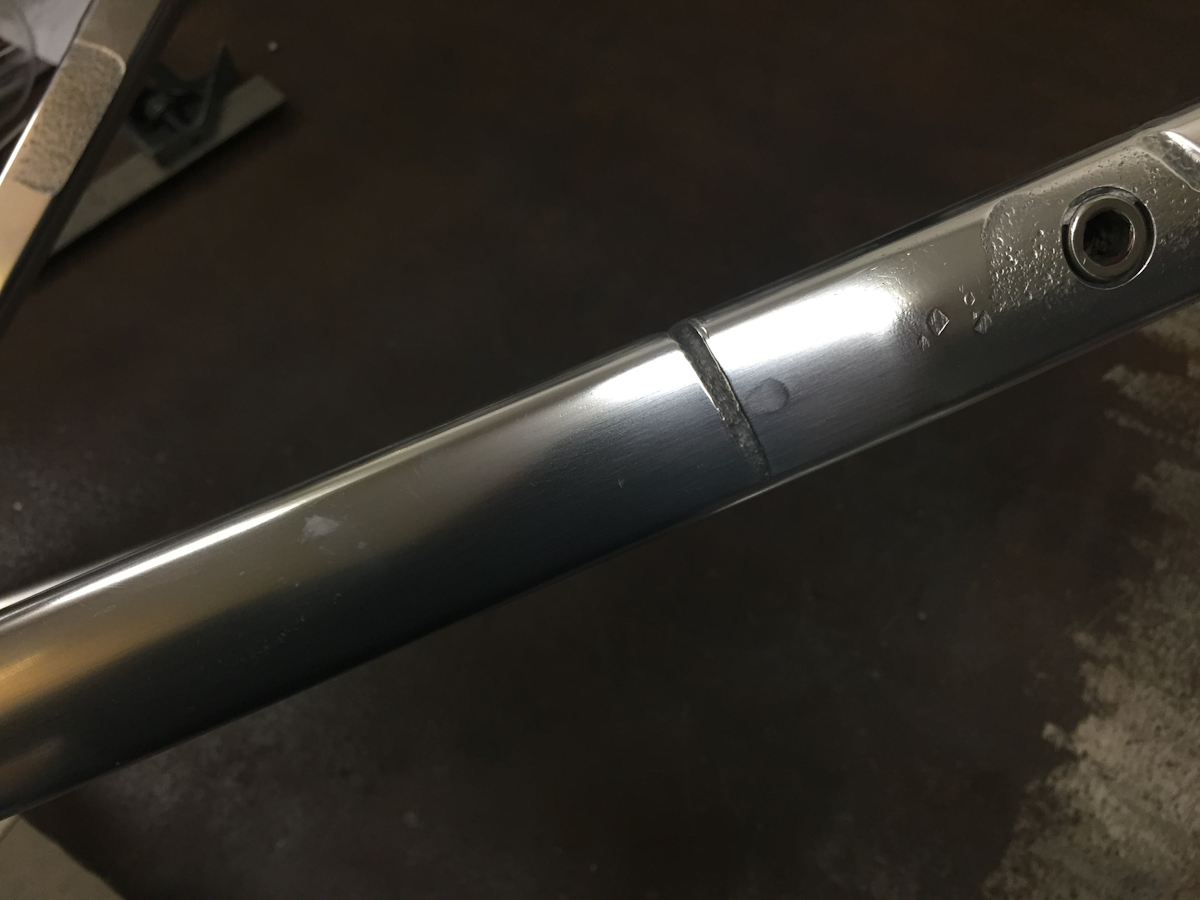
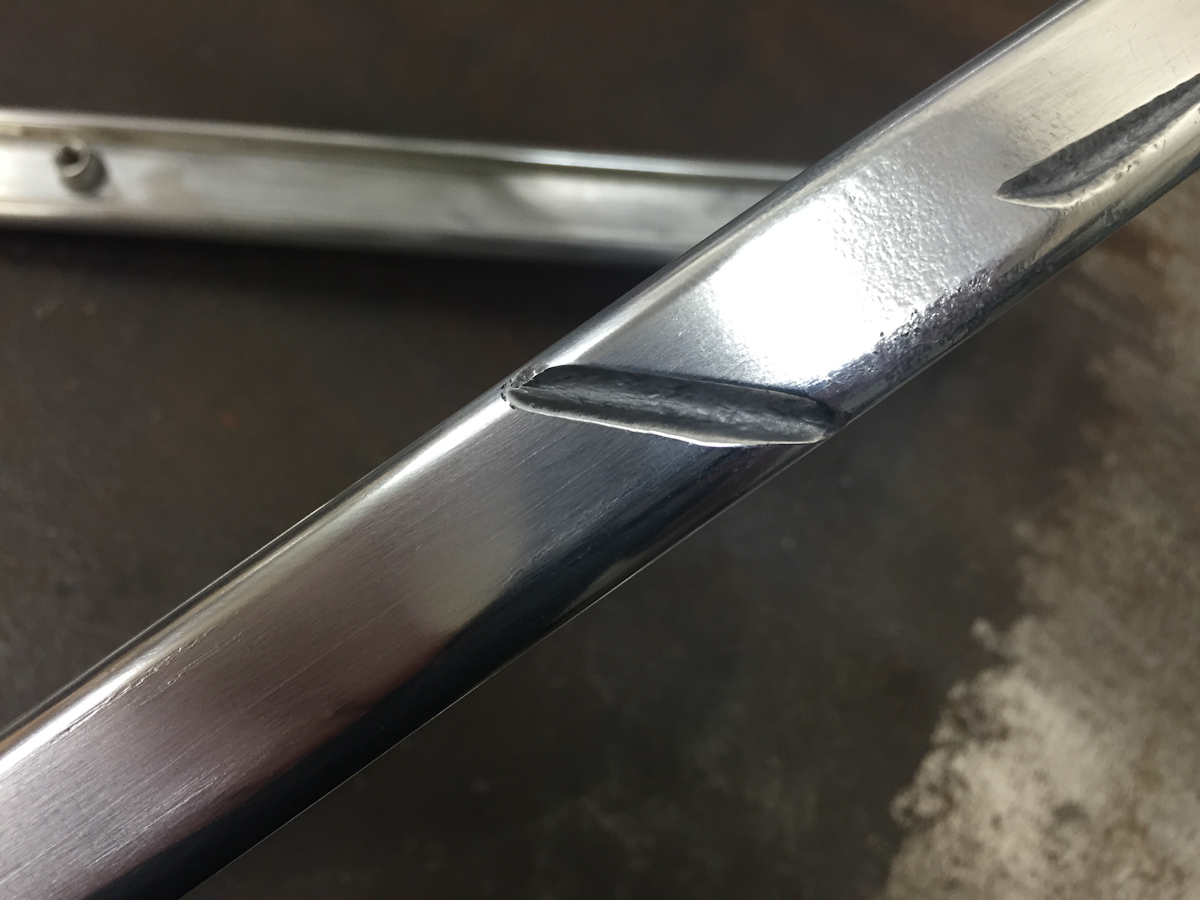
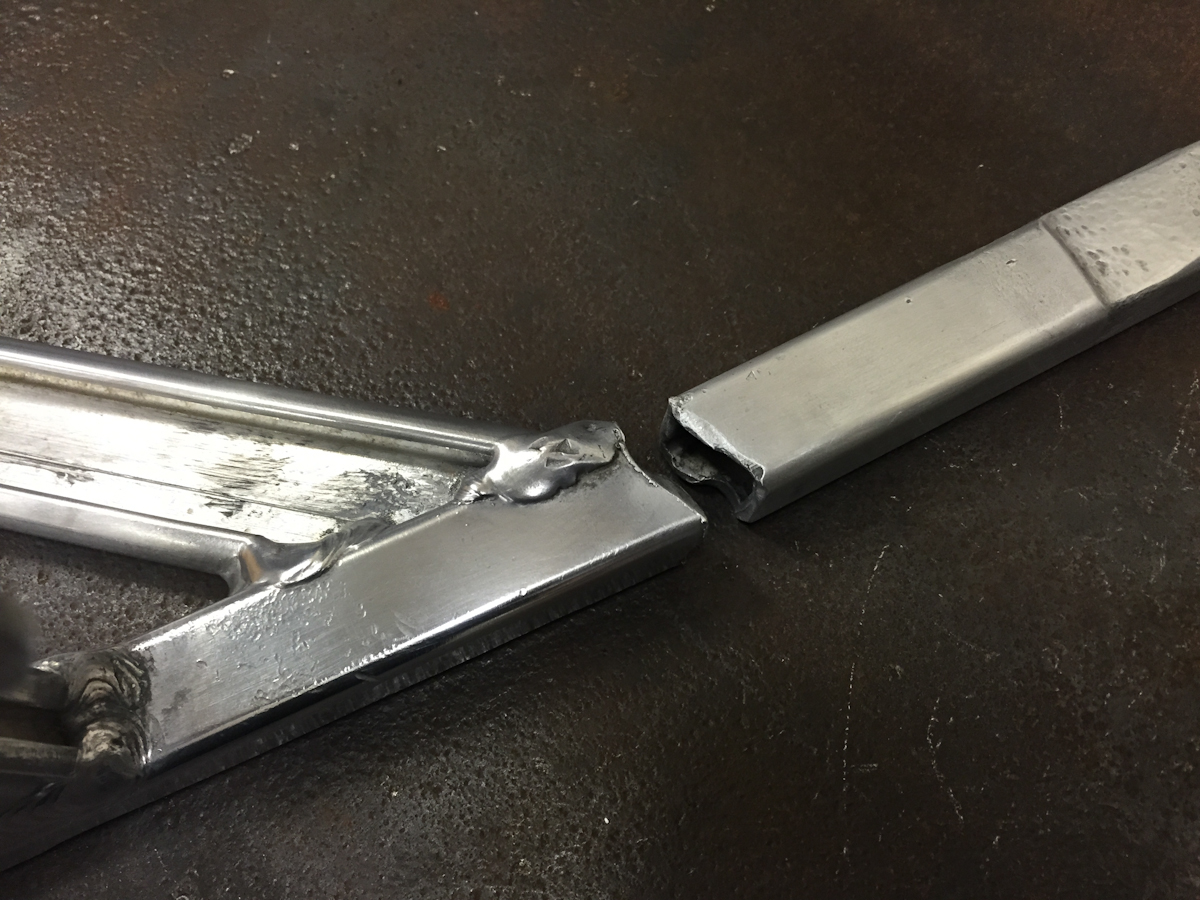
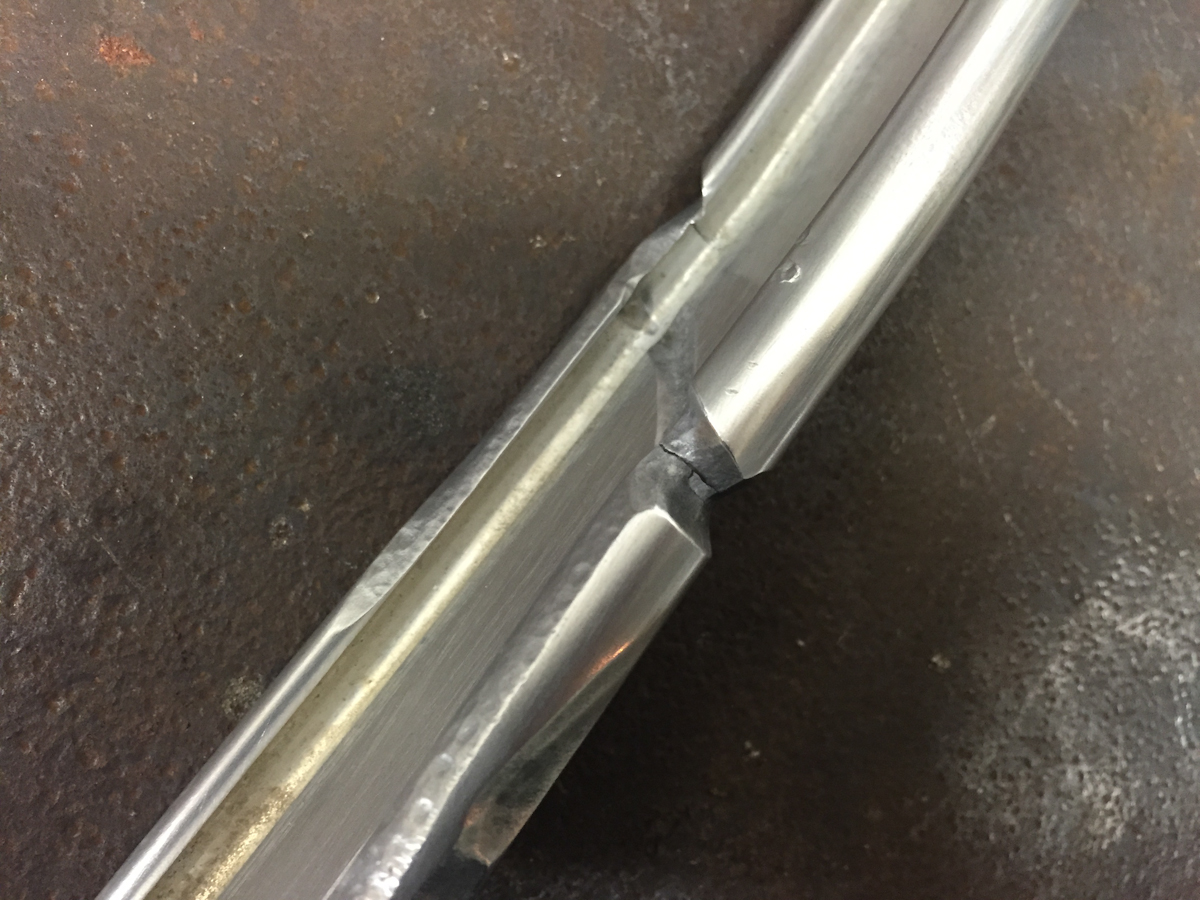
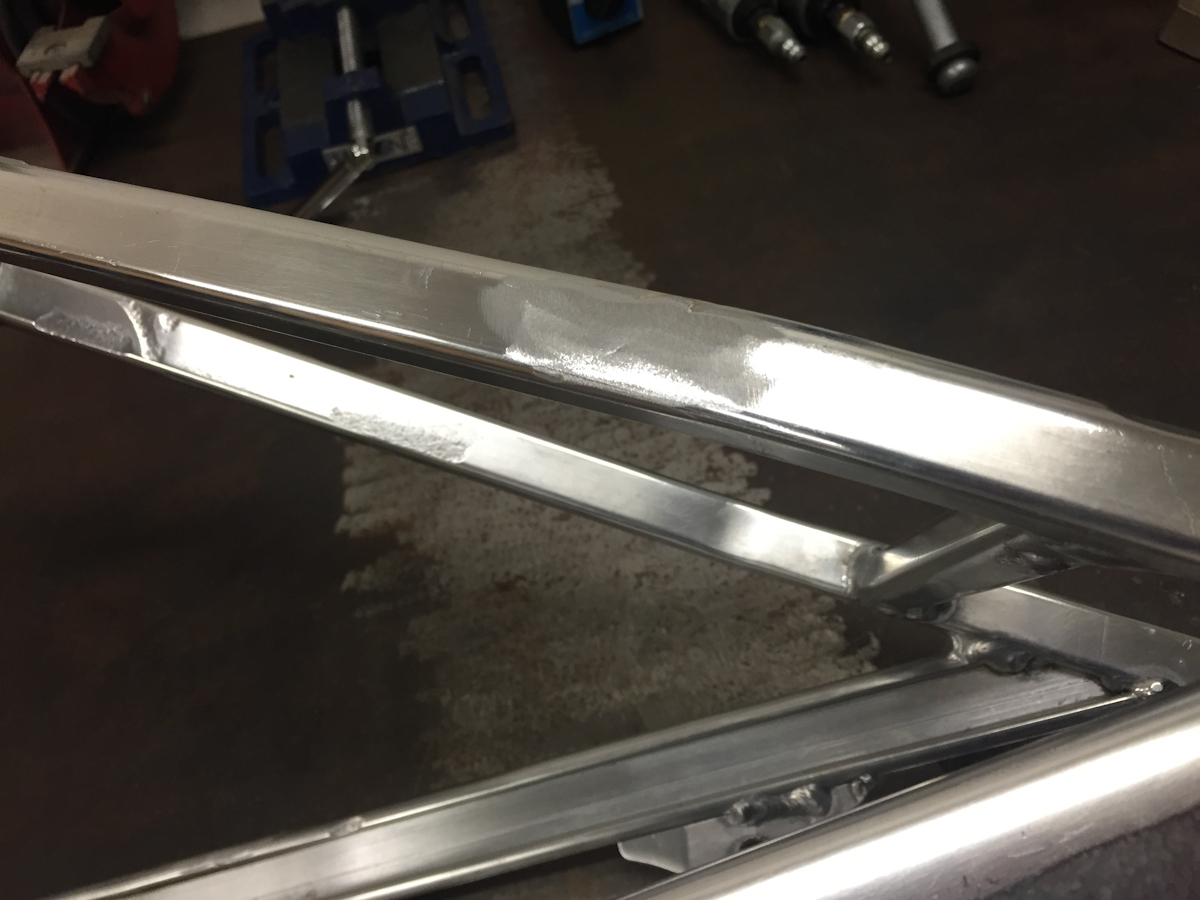
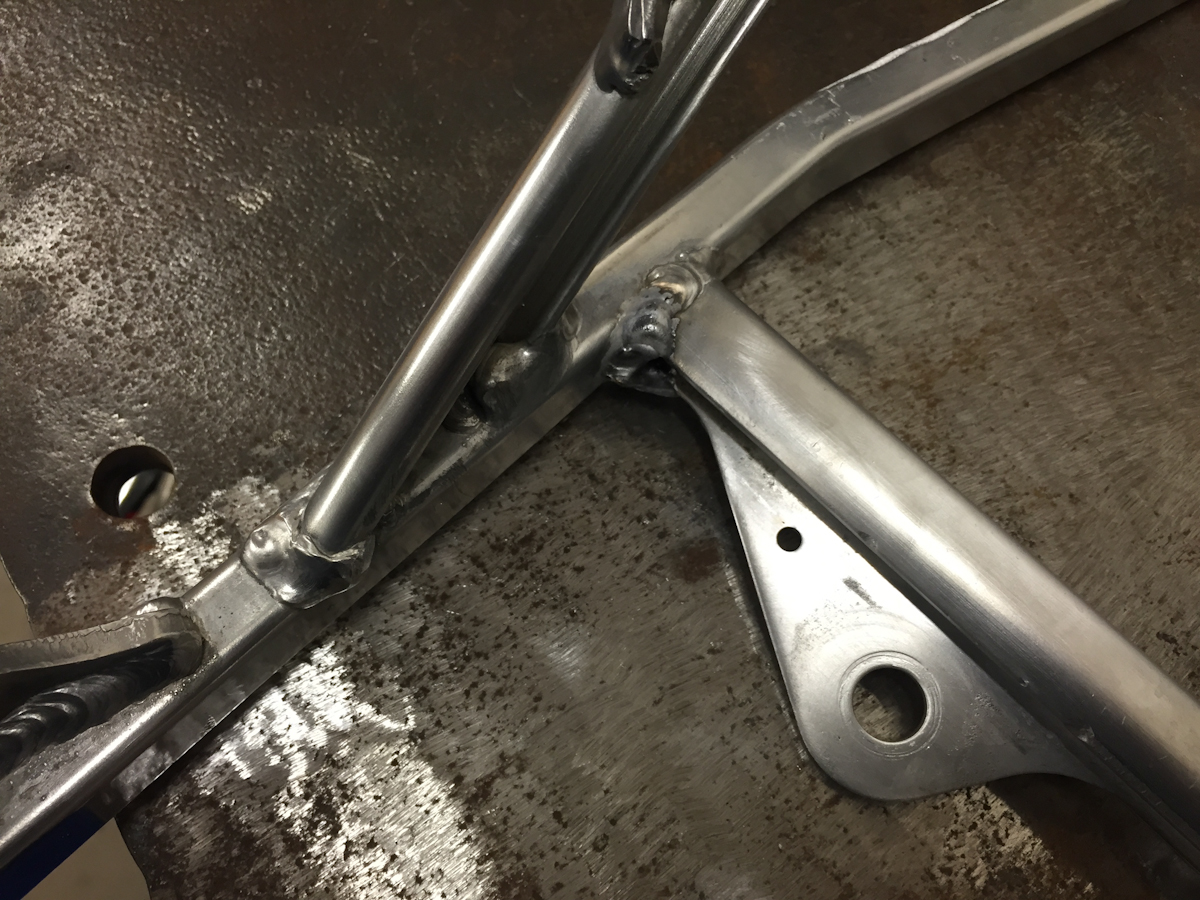
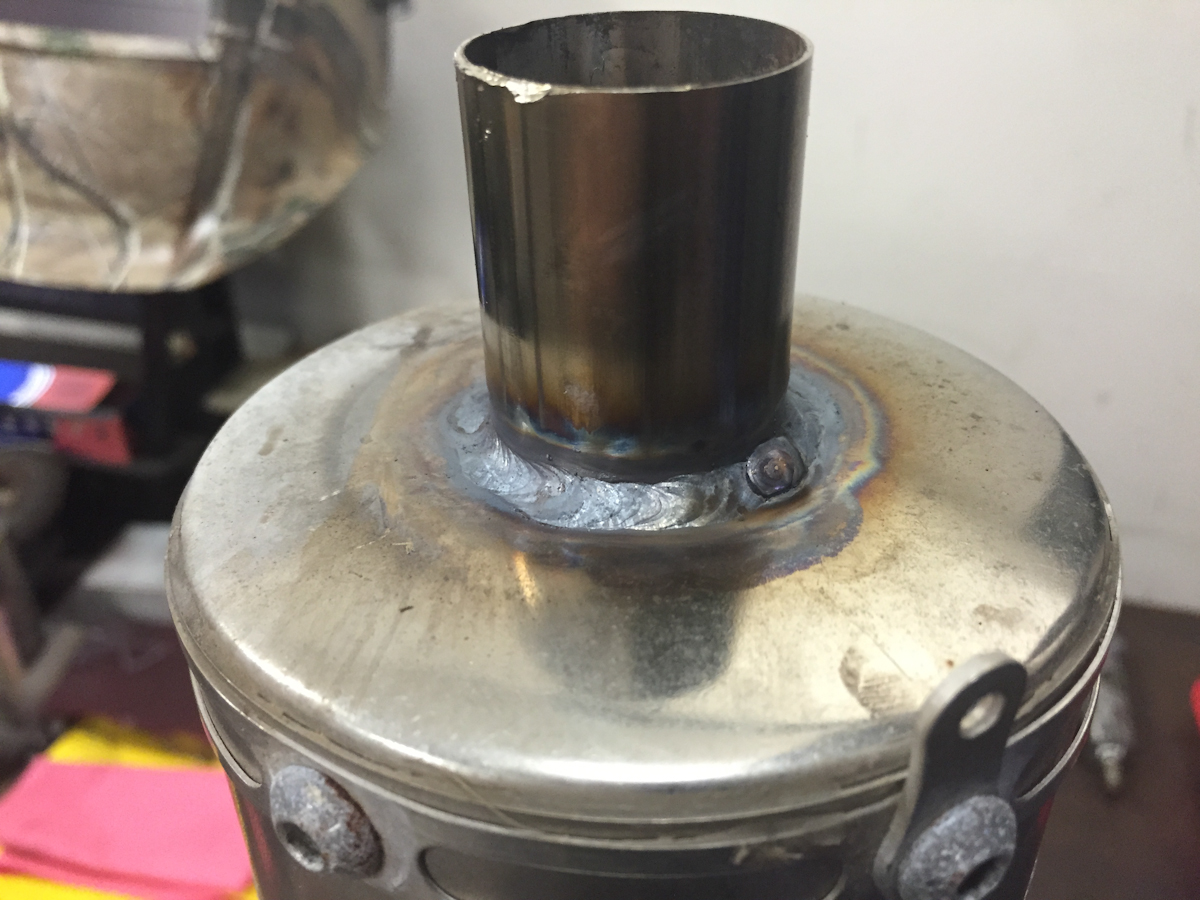
 FRICK! I’m such a critic of my own work and I hate crap! And that’s what that looks like. I don’t spend much time with stainless and boy does it show. Made a mistake, tried to recover made another, feels like when you be slacking in a moto. Amateur hour man… Like smokey said “playa’s F up” hahaha
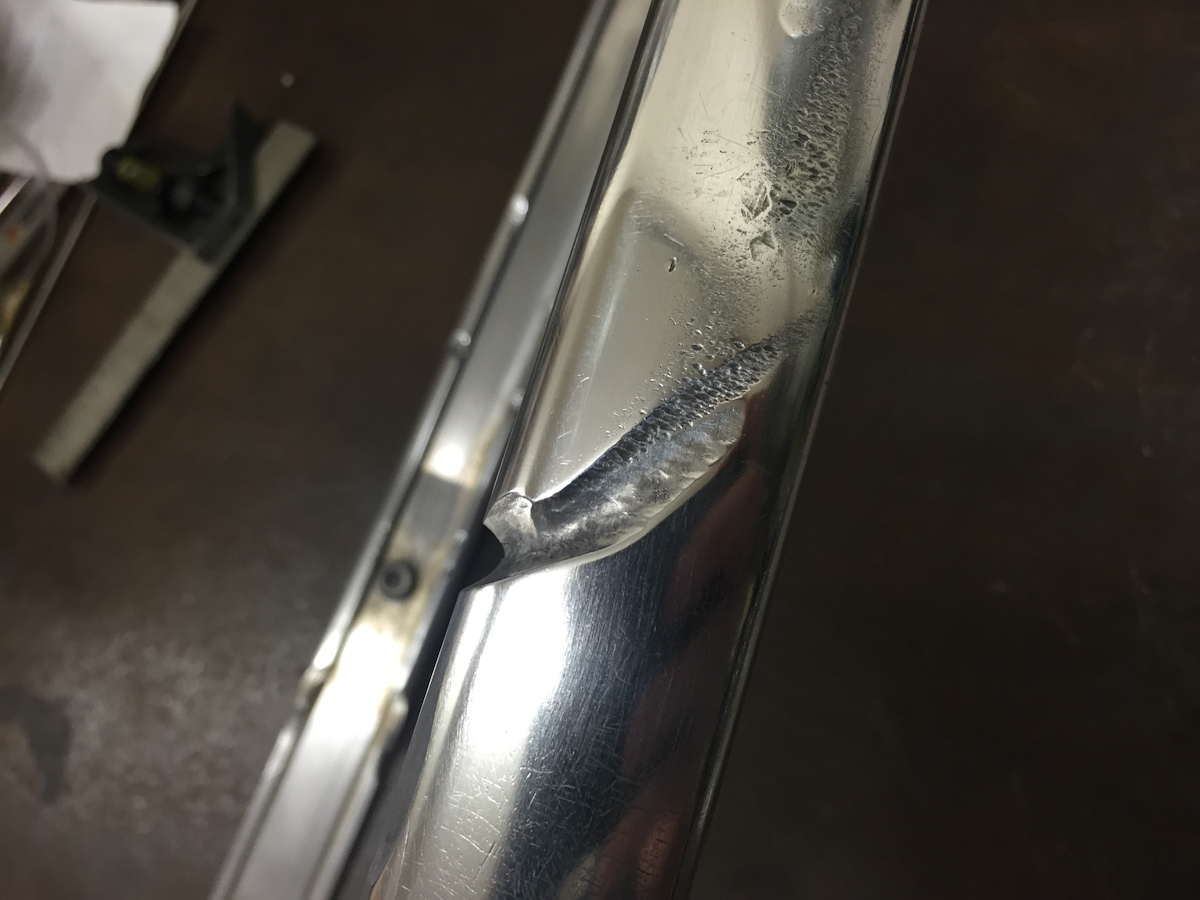
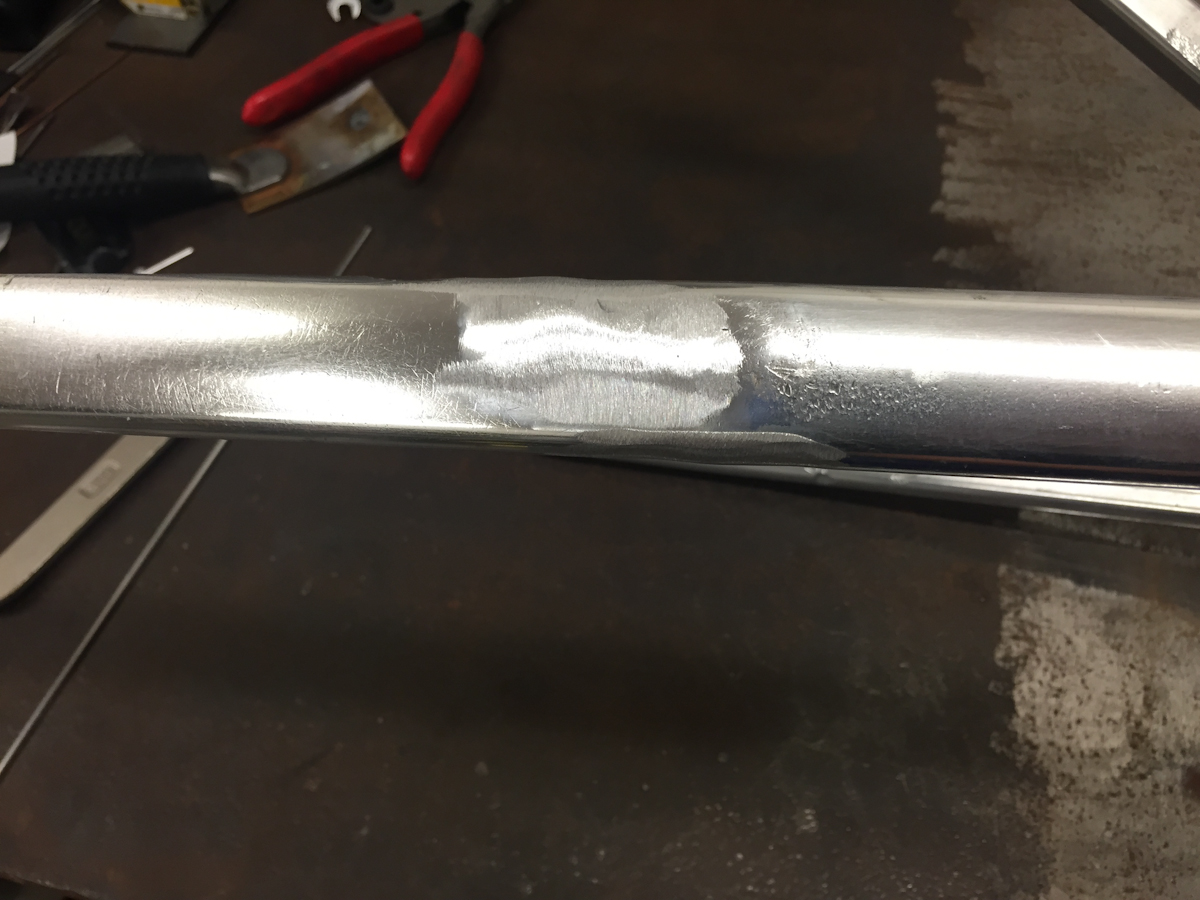
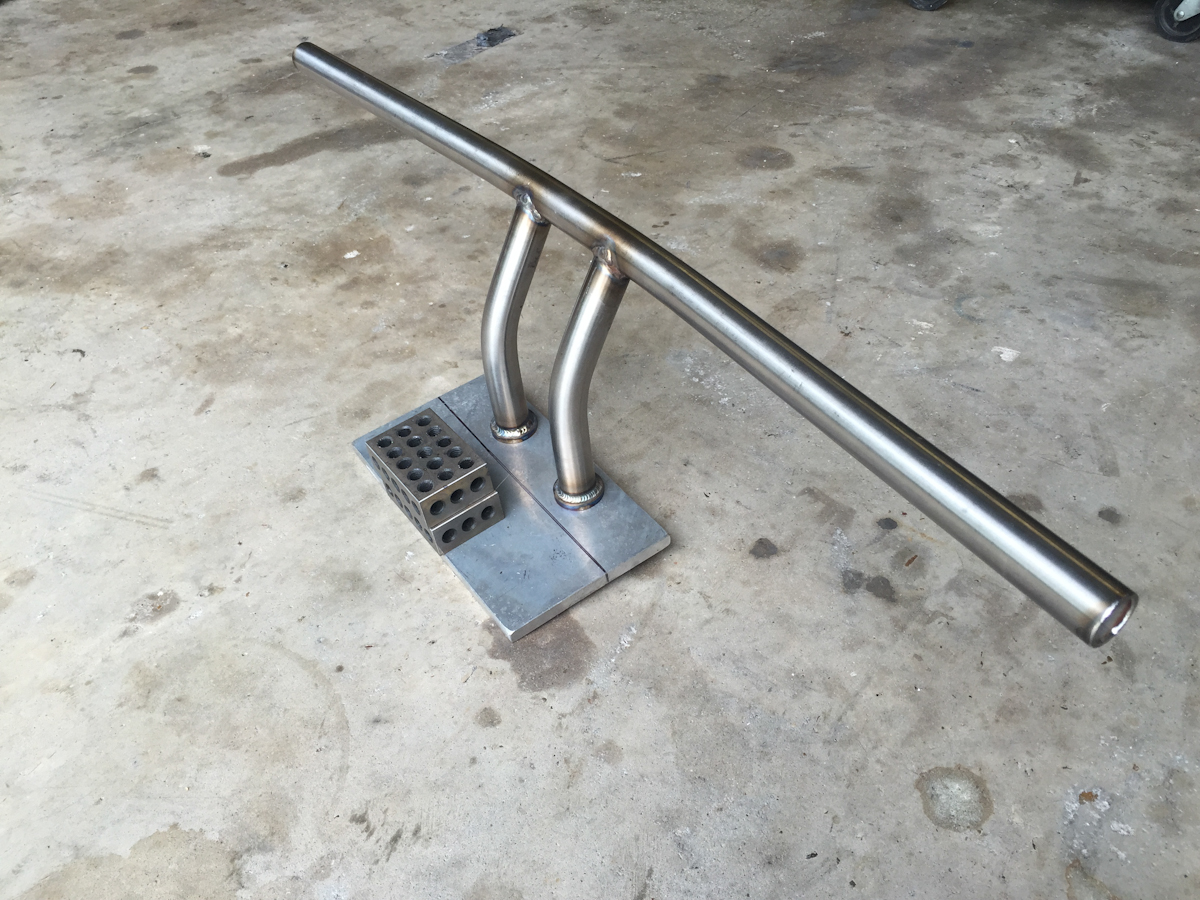
  second one came out acceptable #tig #welding #fabrication #jamoke #positioner #stainless
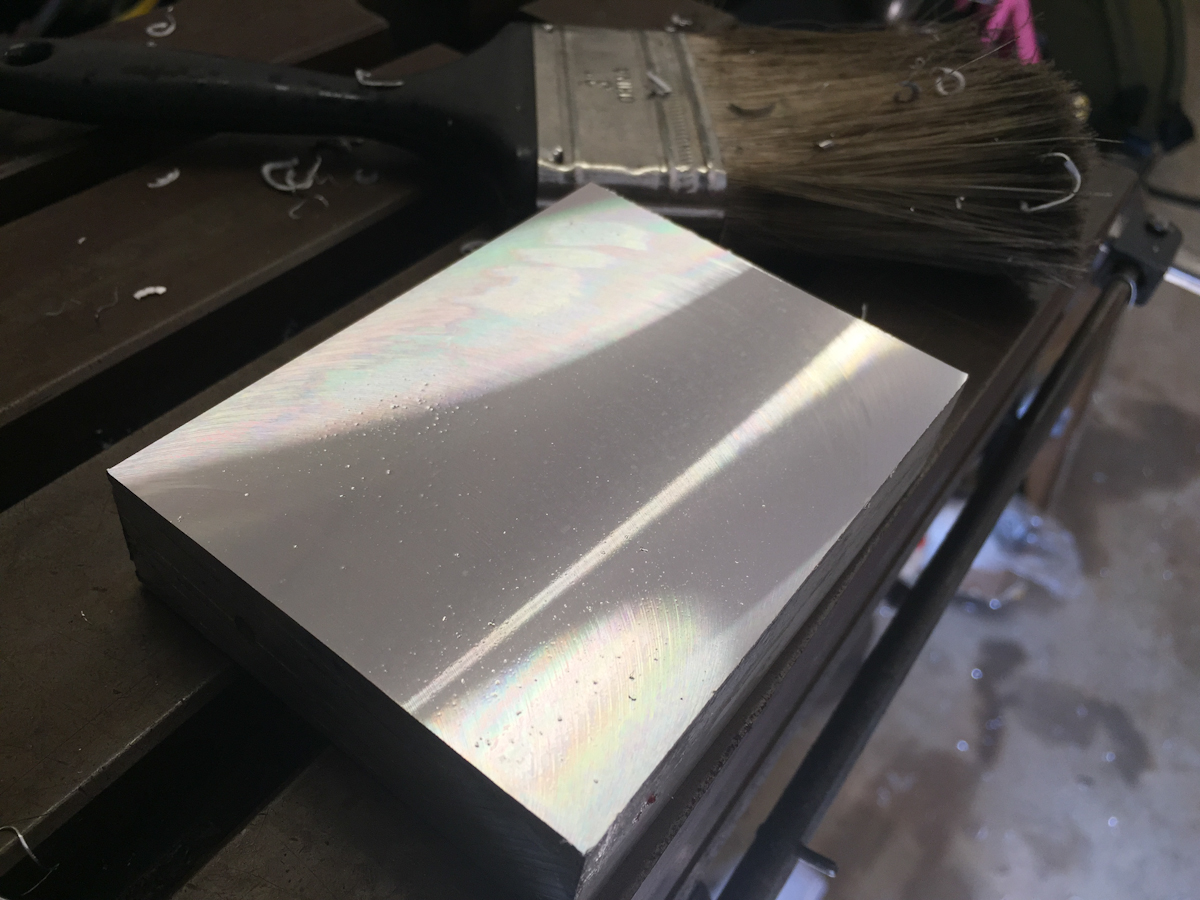
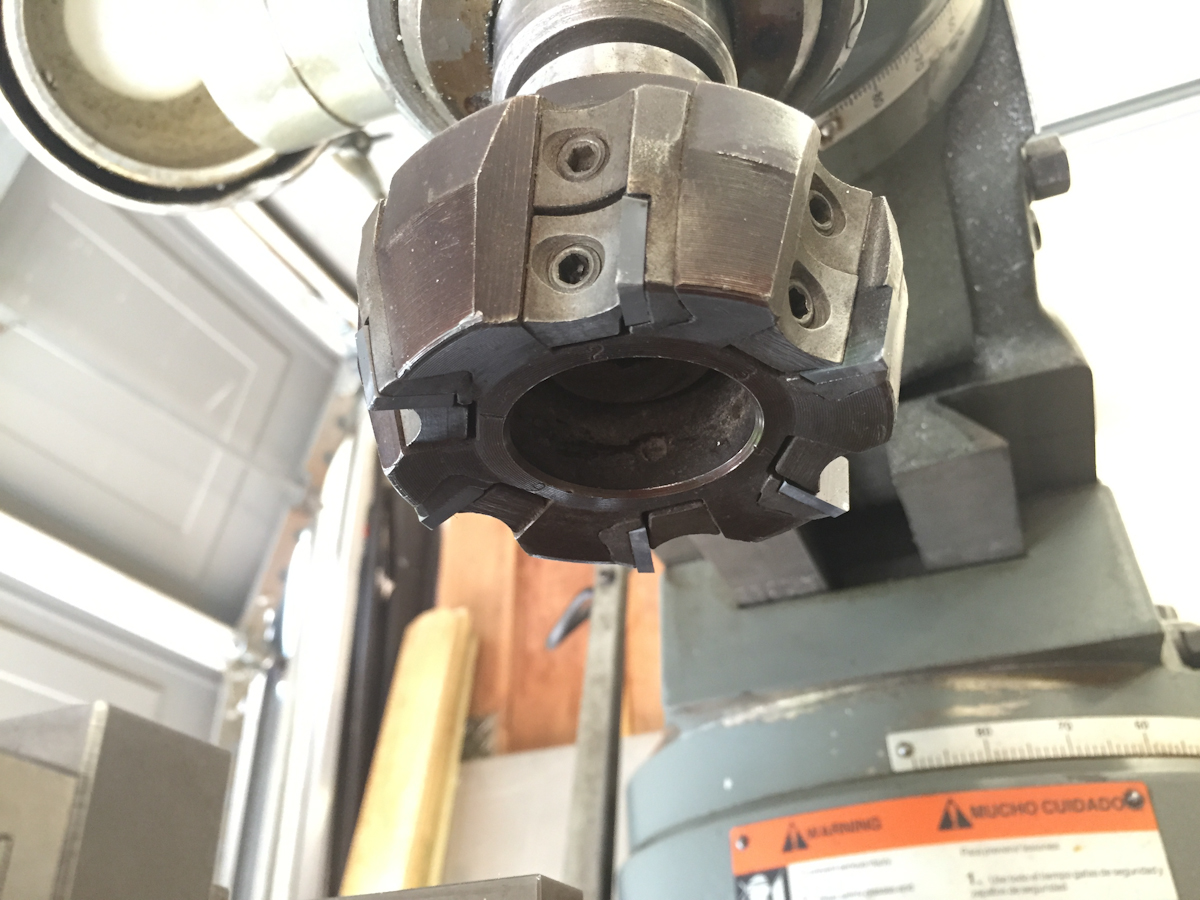

 #machining #fabrication #milling #bridgeport @orangeviseofficial
 #whitezombie #thunderkiss65